|
|
 |
|
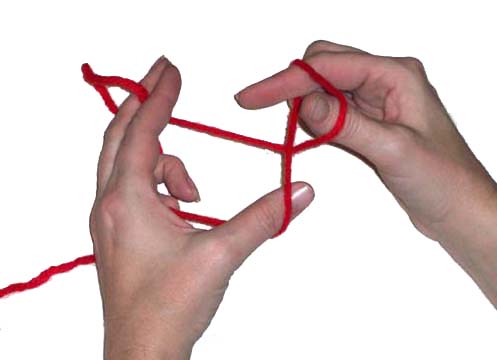
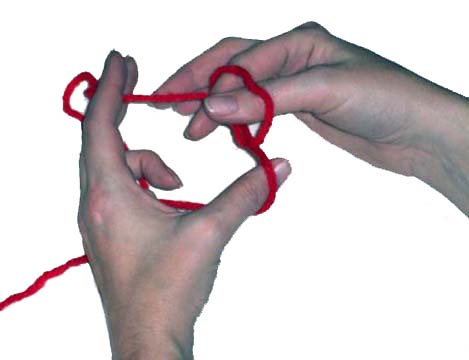
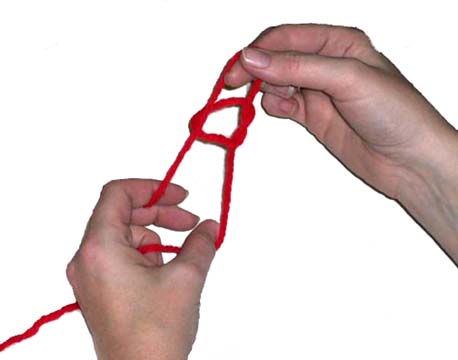
Supplies: Step 1: Make a Slip Stitch Make a loop with the yarn around your fingers; reach over the 'cross' and grab the yarn on the other side (this should be the long side, not the tail). Pull that yarn through the original loop, forming a slip knot. Place the slip knot onto the needle. You're ready to cast on!
|
|
|
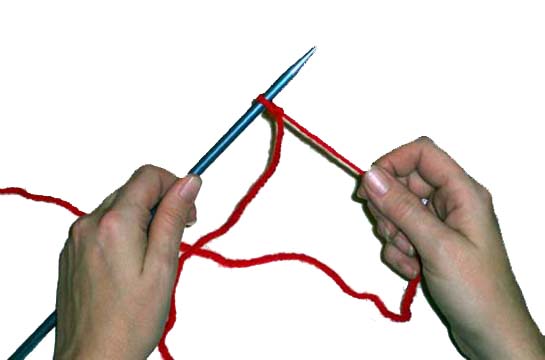
Step 2: Cast On
There are many methods of casting on. This method is sometimes called the "backwards loop". It's the simplest method, but can leave a tight edge. To avoid this problem, you may want to cast onto a needle several sizes larger than the size you're going to knit with. Different methods of casting on are used for different types of edges; once you're comfortable with knitting, it's a good idea to learn a few more methods.
|
|
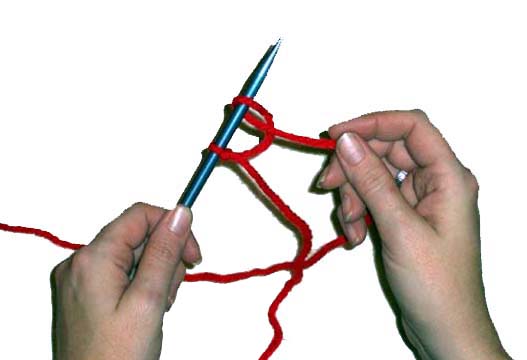
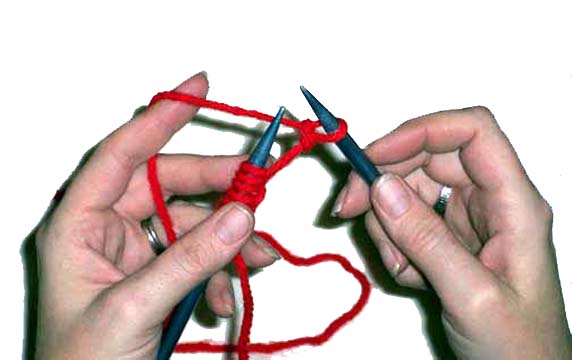
3. Knit I'm showing the Continental method of knitting here, which is usually thought to be faster than the English method. In English style knitting, both the yarn and the active needle are held in the right hand; in Continental, the yarn is held in the left, while the right hand moves the needle. 1. Put the needle into the first stitch, from front to back. 2. "Scoop" the yarn onto the right-hand needle and pull through the original stitch. 3. Pull the original stitch off the left-hand needle.
To
purl, put the needle into the stitch from back to front, and wrap the
yarn over the needle from right to left.
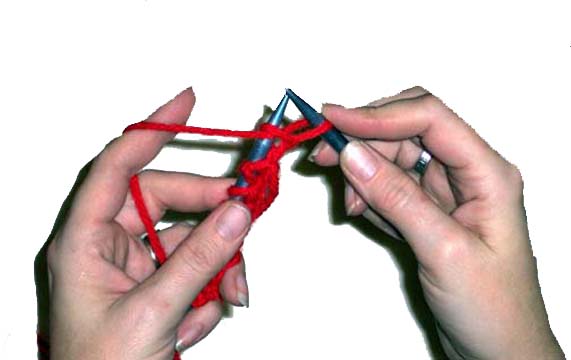
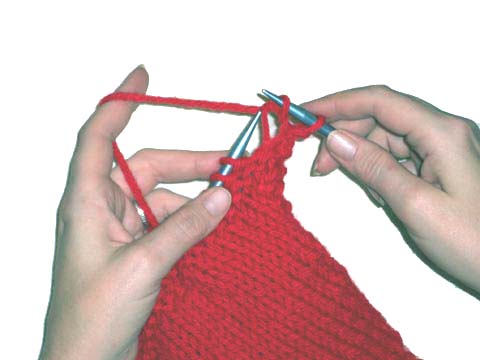
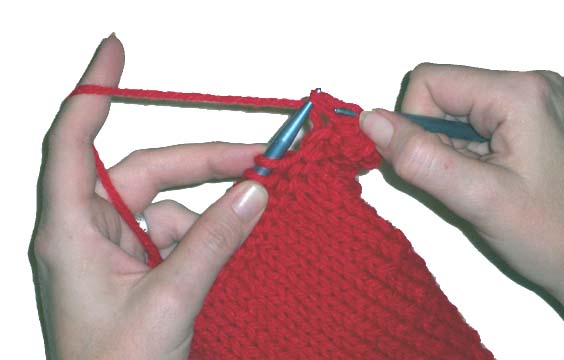
5. Binding Off Knit the first stitch.
Knit the second stitch; pull the previous stitch over the second stitch. Repeat with the rest of the stitches on the needle
|
|
|
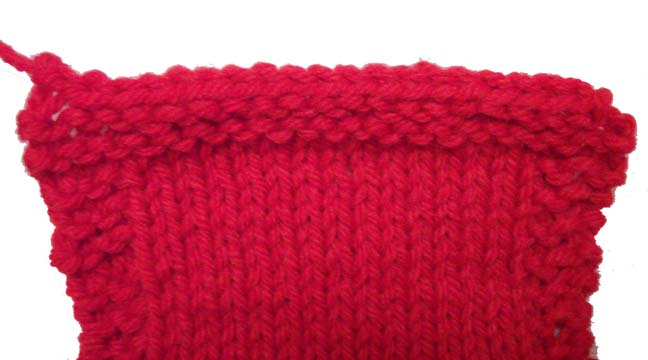
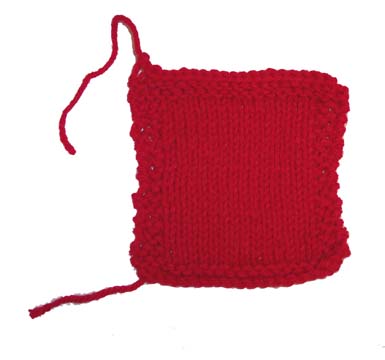
Class 1 Exercise: Knit a Swatch
Knitting a swatch is a good idea before beginning any knitting project. It gives you an idea of how many stitches and rows per inch you can expect to get with a particular combination of needles and yarn. This is called your gauge. INSERT PIC OF MEASURING GAUGE Often a knitting pattern will give you the gauge at which the pattern was knitted. If your swatch does not match this gauge, the project won't be the right size. You can go up or down a needle size to get your knitting gauge closer to the gauge called for in the pattern. Instructions: Knit three rows. (This gives you three rows of garter stitch, which will help keep your swatch from curling.) Next row (Wrong Side, or WS): Slip one stitch (i.e., put it on your right-hand needle as though you were going to knit it, but simply slip it off the left-hand needle without knitting.) Knit three stitches. Purl 14 stitches. Knit last three stitches. Next row (Right Side, or RS): Slip 1st stitch; knit rest of row. Continue knitting until you have about five inches knitted in plain stockinette stitch. Knit three rows to make another garter stitch border (i.e., knit both right side and wrong side rows). Bind off. |
|
|
A Few Online Knitting
Resources: |
|